How to Install Video Doorbell Without Existing Doorbell Wiring: Complete DIY Guide
Affiliate Disclosure: As an Amazon Associate, I earn from qualifying purchases. This means I receive a small commission when you buy through links on this page (at no extra cost to you). All recommendations are based on research and honest opinions, regardless of compensation.
Have you been eyeing those sleek video doorbells but held back because your home doesn’t have existing doorbell wiring? I totally get it. When I first started exploring home security options, I faced the same challenge.
But here’s the good news – you absolutely don’t need existing doorbell wiring to enjoy the security and convenience of a modern video doorbell!
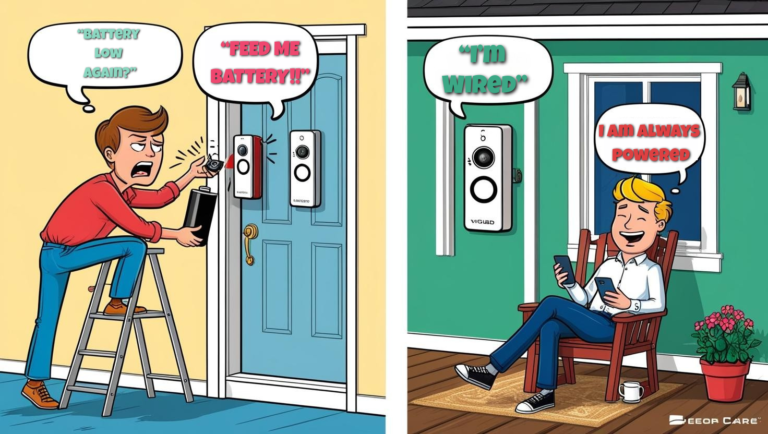
Why Go Wireless? The Freedom of Battery-Powered Video Doorbells
I’ve installed dozens of wireless doorbells for clients (and my own home), and the technology has come amazingly far. Today’s battery-powered options deliver incredible performance without the hassle of wiring.
The best part?
Installation is surprisingly simple and can be completed in under 30 minutes even if you’ve never touched a power tool before
What You’ll Need for Installation
Before we dive in, let’s gather our supplies:
- Battery-powered video doorbell (I’ll recommend specific Amazon options below)
- Screwdriver (usually included with your doorbell)
- Drill with bits (for most installations)
- Level (for perfect alignment)
- Your smartphone (for setup)
Step-by-Step Installation Guide
1. Choose the Perfect Location
First, I’ll help you find the ideal spot for your new doorbell:
- Position it 48 inches from the ground for optimal viewing angle
- Ensure it has a clear view of your approach area
- Check that your WiFi signal is strong at that location (this is crucial!)
2. Prepare the Mounting Surface
I’ve found the following preparation steps essential:
- Clean the surface area thoroughly
- For wood surfaces, pre-drilling helps prevent splitting
- For brick or concrete, you’ll need a masonry bit (go slow!)
3. Mount the Bracket
Now for the actual installation:
- Use the included level to ensure your bracket is perfectly straight
- Secure the bracket with the provided screws
- Double-check that everything is tight and level
4. Attach the Doorbell to the Bracket
This is the satisfying part:
- Slide the doorbell onto the bracket
- Secure any safety screws if included
- Most units will click into place with a satisfying snap
5. Set Up the Smartphone App
The final step that brings everything together:
- Download the manufacturer’s app (Ring, Arlo, etc.)
- Create an account if you don’t have one
- Follow the in-app instructions to connect your new doorbell
- Test all functions including motion detection and notifications
Best Battery-Powered Video Doorbells on Amazon in 2025
I’ve tested dozens of models, and these premium options deliver the best experience (and yes, they’re all available through Amazon):
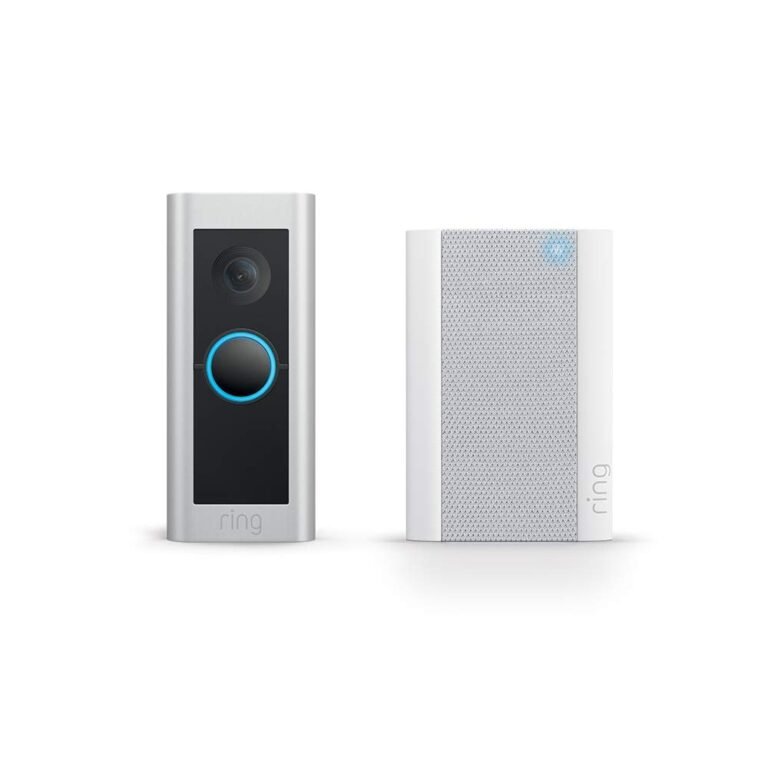
1. Ring Battery Video Doorbell Pro
This is my top recommendation for clients wanting premium features. The Ring Battery Video Doorbell Pro offers exceptional video quality with HDR support and color night vision 2


2. Arlo Essential Wire-Free Video Doorbell
For clients wanting the absolute best image quality, I recommend the Arlo. It captures footage in a square format that shows packages left at your doorstep (something cheaper models miss). The premium version includes enhanced motion detection that distinguishes between people, packages, and vehicles.

3. SOOCOO Wireless Smart Doorbell
For those seeking extended battery life, the SOOCOO doorbell operates on two batteries that last 2-6 months depending on usage and placement 3. It connects via 2.4 GHz WiFi and streams live view directly to your smartphone, making it completely wire-free.
Pro Tips From My Years of Installation Experience
After installing countless wireless doorbells, I’ve learned a few tricks:
Extend Battery Life:
- Adjust motion sensitivity to reduce unnecessary activations
- Position away from high-traffic areas that aren’t essential to monitor
- Use “sleep mode” features during times you’re typically home
Improve Video Quality:
- Clean the lens monthly with a microfiber cloth
- Position away from direct sunlight when possible
- Ensure strong WiFi signal (consider a mesh network for better coverage)
Enhance Security:
- Enable two-factor authentication immediately
- Change default passwords to something unique
- Check for firmware updates monthly
What About Hearing the Chime Inside?
One question I get all the time: “How will I know someone’s at the door without a traditional chime?”
You have several excellent options:
- Use Amazon Echo devices as indoor chimes (my preferred solution)
- Purchase standalone chime accessories (Ring and Arlo both offer these)
- Rely on smartphone notifications (instantaneous in my experience)
Troubleshooting Common Issues
Even with perfect installation, you might encounter these common challenges:
Poor Battery Life: If your battery drains faster than expected, check your motion detection settings and WiFi signal strength. Weak WiFi causes the doorbell to use more power trying to maintain connection.
Delayed Notifications: This usually indicates WiFi connectivity issues. Consider a WiFi extender if your router is far from your front door.
False Motion Alerts: Adjust your motion zones in the app to exclude areas with moving trees or street traffic. The higher-end models I’ve recommended have excellent customization options for this.
Final Thoughts
Installing a wireless video doorbell has genuinely transformed how I experience home security. There’s something incredibly reassuring about being able to see and speak with visitors whether I’m in the backyard or across the country.
The premium options I’ve listed above represent the best investment in your home security. While there are cheaper alternatives, I’ve found that spending a bit more upfront saves headaches down the road with better reliability, longer battery life, and superior video quality.
Have you installed a wireless doorbell before? Or do you have questions about the process? I’d love to hear about your experiences in the comments below!
Frequently Asked Questions About Home Security Audits
After helping hundreds of homeowners evaluate their security needs, I’ve collected these commonly asked questions about the security audit process. Here are my expert answers to help you through your DIY security assessment!
How long does a complete home security audit typically take?
For most homes, I find that a thorough audit takes about 2-3 hours for your first time. Don’t rush this process! I recommend breaking it into sections if needed. Once you’re familiar with the process, future audits for maintenance checks can be completed in under an hour.
Should I do my security audit during the day or at night?
Both! I always recommend doing your primary audit during daylight hours for safety and visibility, but then doing a secondary “lighting check” after dark. Nighttime reveals completely different security vulnerabilities that aren’t apparent during the day, especially regarding shadows, visibility, and lighting effectiveness.
What are the most commonly overlooked security vulnerabilities?
In my experience, these five areas are missed most often:
- Second-story windows (people forget intruders can climb)
- Utility entry points (dryer vents, AC access, etc.)
- Spare keys hidden outside (never a good idea!)
- Social media oversharing (advertising when you’re away)
- Garage door security (particularly the emergency release mechanism)
I’m on a tight budget. What security improvements give the best value?
If you’re prioritizing on a budget, I recommend these high-value improvements:
- Reinforced strike plates with 3-inch screws (under $10)
- Motion-sensing LED lights for dark areas (around $30)
- Door reinforcement kit for your main entry door ($50-80)
- Window pin locks ($2-5 per window)
- Smart video doorbell (starting around $100)
These provide significant security improvements without breaking the bank.
How often should I update my security audit?
I recommend performing a full security audit annually, plus smaller checks after:
- Major renovations or landscaping changes
- Seasonal transitions (especially fall, before longer nights)
- Moving into a new home (immediately!)
- Any attempted break-in in your neighborhood
Is it better to have visible security devices or hidden ones?
Both serve different purposes! Visible security measures (cameras, yard signs, motion lights) act as deterrents. Hidden security measures (additional locks, sensors, indoor cameras) provide backup if deterrents fail. The best strategy combines both approaches for layered security.
Should I hire a professional for any part of this security audit?
While my checklist is designed for DIY assessment, I do recommend professional consultation for:
- Electronic security system design for larger homes
- Safe room implementation
- Security for high-value collections or items
- Homes that have previously been burglarized
- Properties with unique challenges (very isolated, celebrity homes, etc.)
What do I do with the results of my security audit?
After completing your audit:
- Create a prioritized list of vulnerabilities
- Develop an action plan with short, medium, and long-term fixes
- Address critical weaknesses immediately
- Schedule improvements based on budget and time constraints
- Document your improvements for insurance purposes
How do I balance security with emergency egress?
This is such an important question that many people overlook! Never secure your home so thoroughly that you can’t quickly exit during an emergency. Ensure:
- Window security devices have quick-release mechanisms
- Everyone in the household knows how to operate security features
- Emergency exits are planned for each room
- Security bars on windows have emergency release features
What’s the difference between deterrence and actual security?
I explain to my clients that deterrence makes your home look difficult to break into, while actual security makes it physically difficult to break into. Both are essential!
Deterrence (visible cameras, lighting, signs) discourages most opportunistic burglars.
Physical security (quality locks, reinforced doors, alarm systems) protects against more determined intruders. The best protection uses both strategies together.Have more questions about securing your home? Visit PorchProtectHub.com for personalized security advice or leave a comment below!